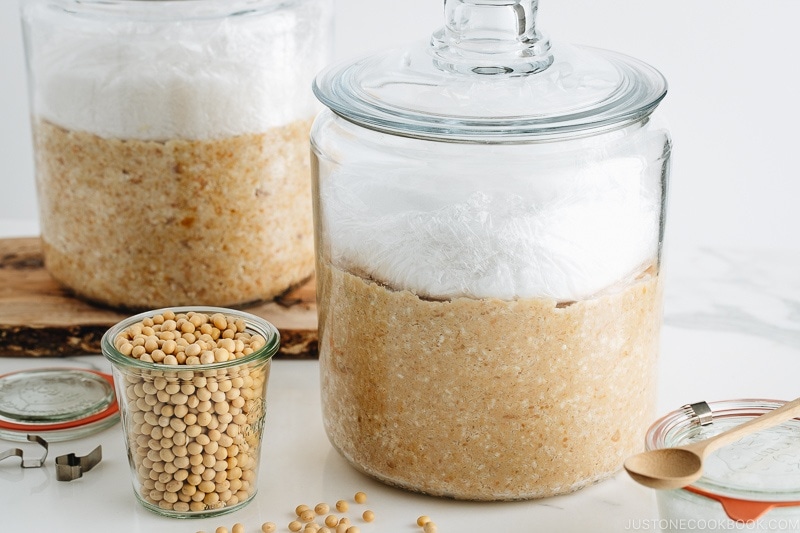
Make Homemade Miso from scratch with just 3 ingredients and a little patience. My simple step-by-step instructions on How to Make Miso will guide you through this process. Once miso paste is made, you can use it for many delicious Japanese dishes!
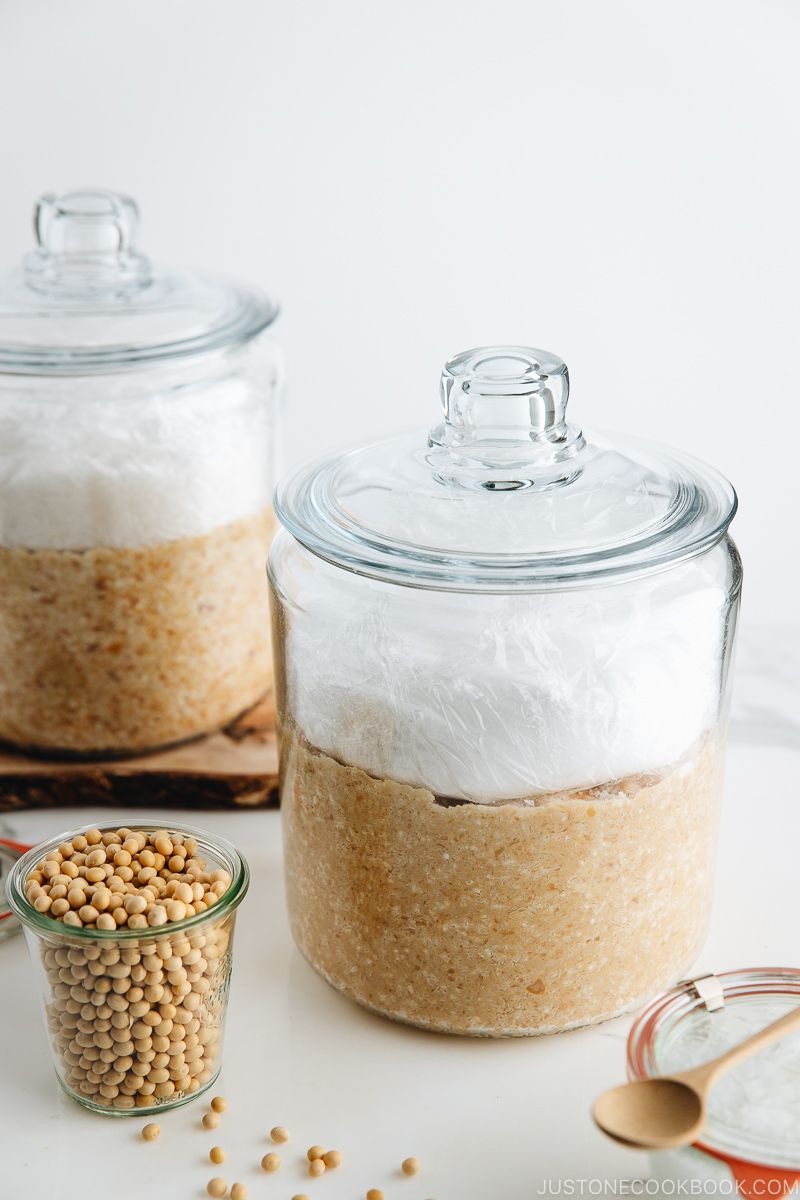
As a home cook and a Japanese cuisine advocator, I want to be able to share not just the recipes, but also to uphold the tradition of making food from scratch. I believe there is a beauty in preserving the heritage integral to our food culture. Do you agree? This year I’ve taken up a few cooking projects that I’d like to accomplish, and making miso paste from scratch is one of them.
This is my first time making miso, and I can’t be any more excited to share the experience with you!
What is Miso?
Miso (味噌) is a Japanese seasoning produced by fermenting soybeans with salt and koji. It has been used in Japanese cuisine since 1200 AD (a precursor of miso arrived in Japan from China around 600 AD). If you want to learn a bit more about miso and its different types of miso, please read this detailed miso post on my blog.
Miso also has a great health benefit as it is rich in essential minerals and a good source of various B vitamins, vitamins E, K and folic acid. Miso is fermented, full of probiotic, good-for-you food, which provides the gut with beneficial bacteria that help us to stay healthy.
My Miso Making Journey
When I get home from a long trip, I often crave for simple homemade miso soup (and onigiri is a plus!). Even though miso is entirely indispensable in my diet and cooking, I realized that I have never made it from scratch before. Like making your own mochi or plum wine, it struck me that there is something special about making your own miso, and I really wanted to do just that!
So if you’re with me, wishing to make this Japanese ingredient from scratch, I hope you’d join me! This miso recipe is not my own and it’s based on this Japanese miso company’s tutorial which I found upon my research. Please understand that this recipe is work in progress and not finalized yet. I may modify the recipe as I continue to improve, but you can expect my update from time to time (even if I fail!).
Quick Overview of Miso Making
The process of making miso takes 2 days, but it is not until 6 months later only you get to use the product. Umm… are you still here?
It may sound daunting, but the method is actually quite simple and I’m sure the result is totally worth the effort!
Day 1
- Wash soybeans
- Soak soybeans for 18 hours (don’t cut it short!)
Day 2
- Cook soybeans (pressure cook – 20 mins; simmer – 3 to 4 hrs)
- Mash soybeans
- Combine soybeans, salt, and koji
- Pack the mixture into a jar
- Store the miso and wait for 6 months…
What You Need for Making Miso
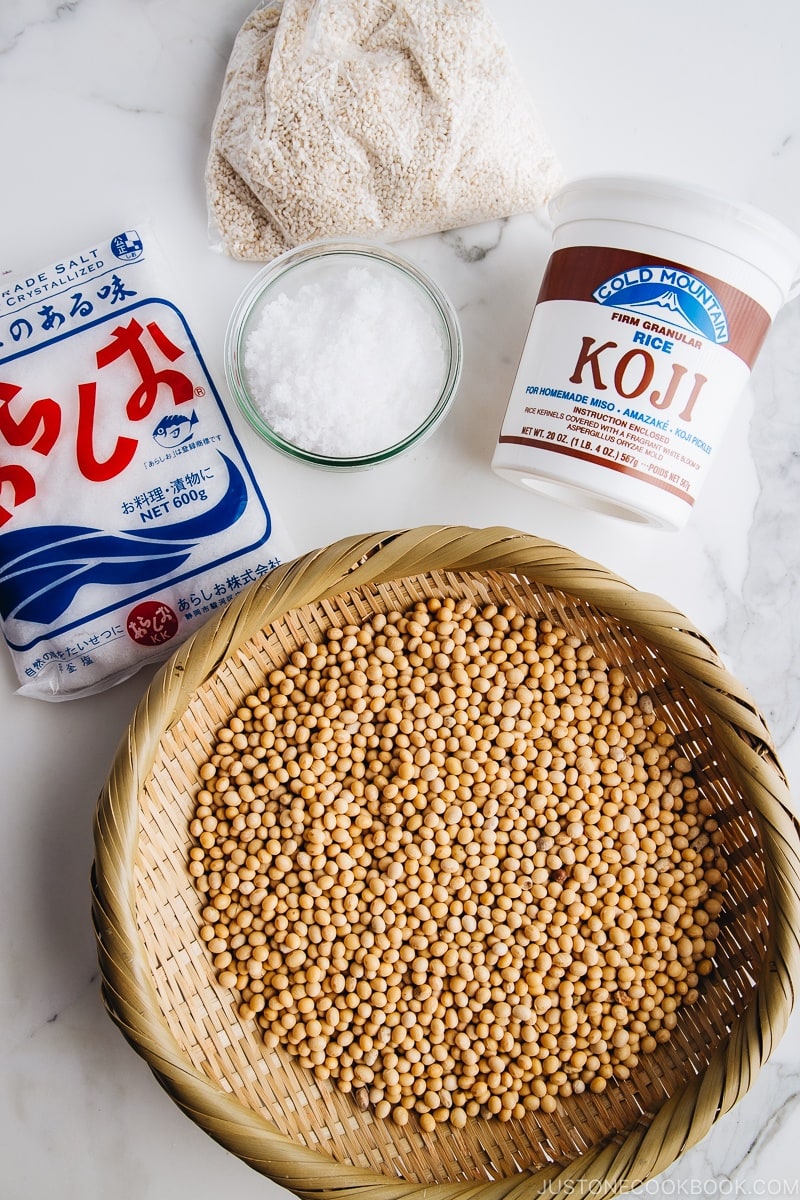
Ingredients
1. Organic soybeans
I purchased organic American soybeans from WholeFoods where you can get the exact amount of soybeans you need from a dispenser.
2. Fine sea salt
3. Rice koji
Rice koji is steamed rice that has been treated with a fermentation culture, Aspergillus oryzae, koji-kin (麹菌). In the US, you can find Cold Mountain brand of rice koji for sale.
3. Filtered water
Quality of water plays an important role in making good miso paste, so be sure to use filtered water that is safe and has removed most of the impurities.
Tools
1. Kitchen scale
I recommend getting a kitchen scale (I’ve been using this kitchen scale which cost me $15 on Amazon years ago) and measure correctly when you make miso. I usually use the gram measurement for my baking and other traditional Japanese recipes like Tsukemono.
2. One-gallon container
You can use any container but I highly recommend the glass one so you can see the miso making progress from the side. I bought a 1-Gallon Biscotti Jar (large) from William Sonoma but you can get an Anchor Hocking Glass Storage Jar from Amazon. Other choices include a stoneware crock or a large plastic bucket.
3. Heavy object
Use any heavy object that would fit in your 1-gallon container. A plastic bag of table salt works well. The weight should be 1/3 of the miso weight. In this recipe, the miso weighs 3 kg (6.6 lb) so it should be 1 kg (2.2 lb) salt.
4. Large bowl
You will need a large mixing bowl (or a large serving bowl) to combine mashed soybeans and the mixture of koji and salt.
5. Plastic wrap
Tightly covered miso with plastic wrap will prevent mold growth.
6. Shochu (vodka) and clean towel
We use alcohol to disinfect the container, which will prevent mold growth.
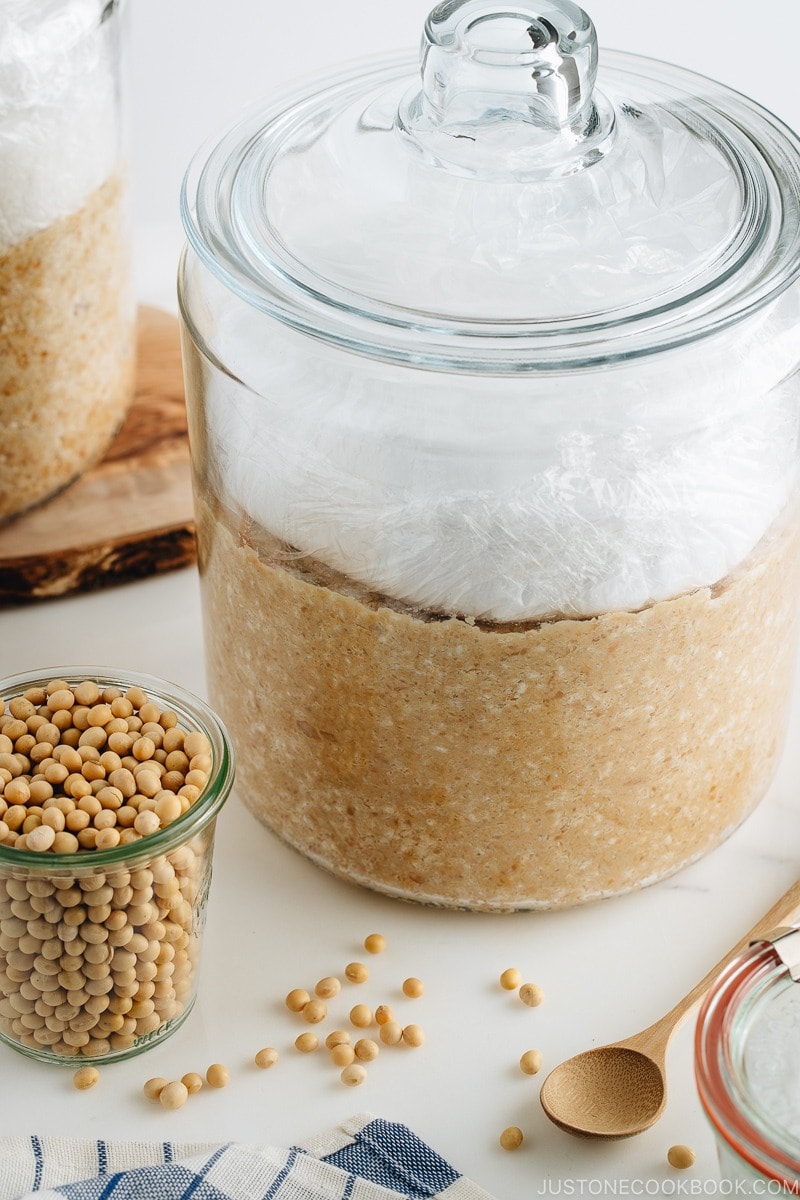
5 Key Points on Making Miso
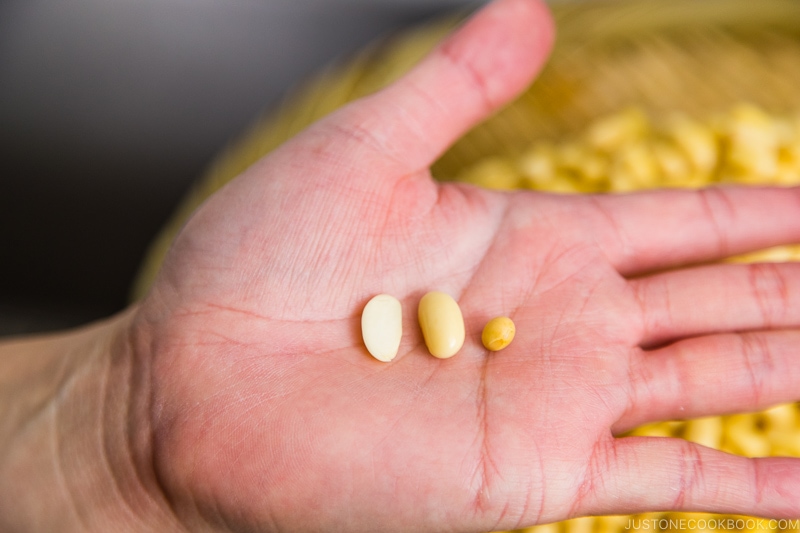
1. Soak soybeans for 18 hours
Dried soybeans take time to absorb moisture (See above photo: 18-hour soaked bean on left vs dried bean on right). To make sure the soybeans are cooked through to the core, you need to soak the soybeans for 18 hours. If you want to start cooking (pressure cook/simmer) soybeans from 10 am, you need to start soaking the soybeans at 4 pm on the previous day.
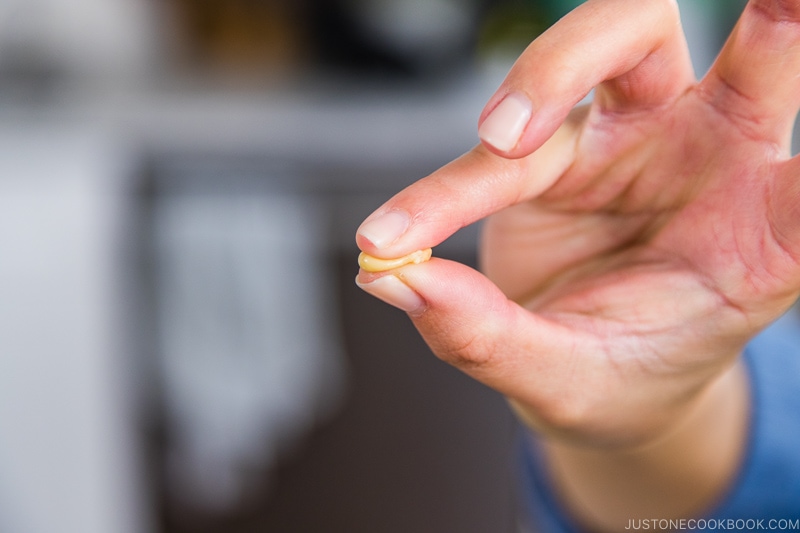
2. Doneness check by crushing soybeans with fingers
Pressure cook or simmer soybeans until they are soft enough to easily crush between your thumb and pinky.
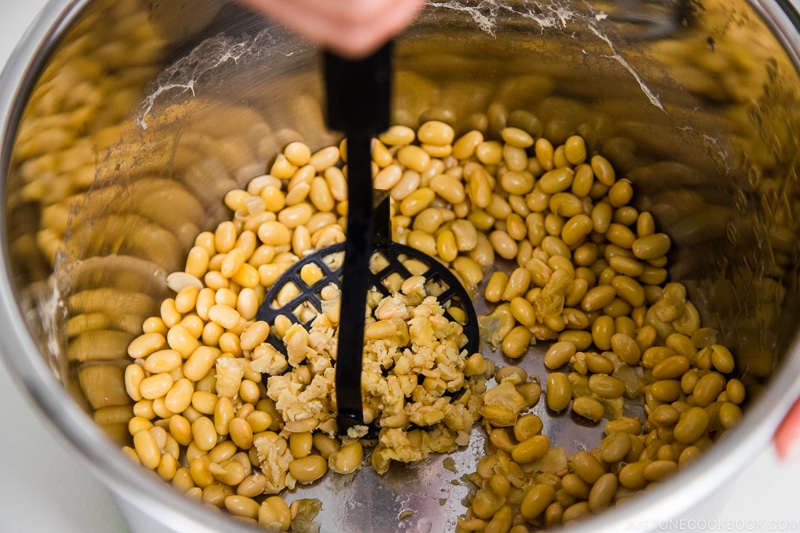
3. Smash soybeans well
Mash small amount of hot soybeans at a time to make sure they are pounded to an even consistency. It’s okay to have a small number of chunky soybeans here and there, but you should try your best to mash most of them nicely.
Alternatively, you can use your food processor if you have one, which will definitely speed up the process.
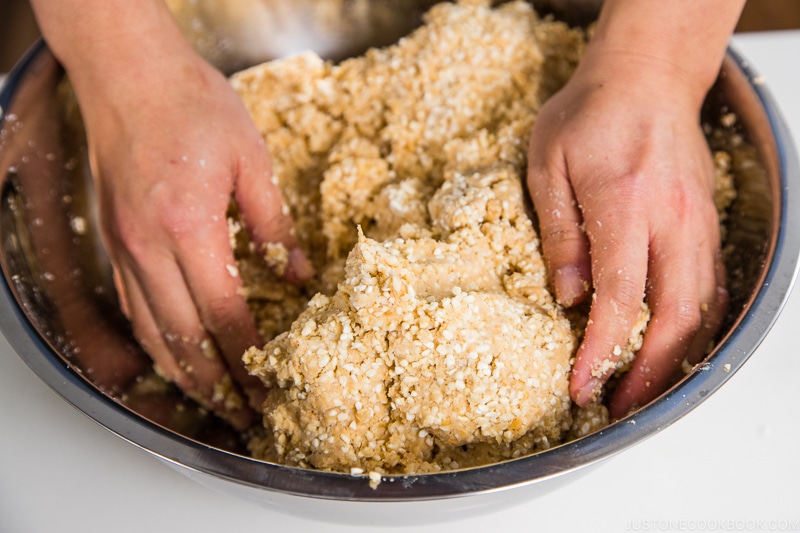
4. Knead the mixture well
Mashed soybeans must be warm or at room temperature when you combine with koji and salt mixture. Knead well to distribute the koji to facilitate good fermentation throughout.
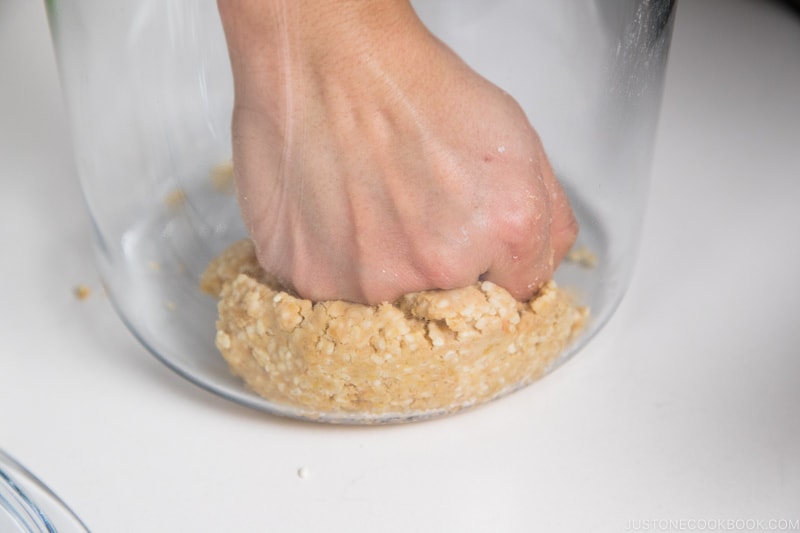
5. Remove air pockets completely
Pack the soybeans in a jar by pressing down each ball of the mixture as firmly as possible to remove any air pockets. This will prevent unwanted mold growth.
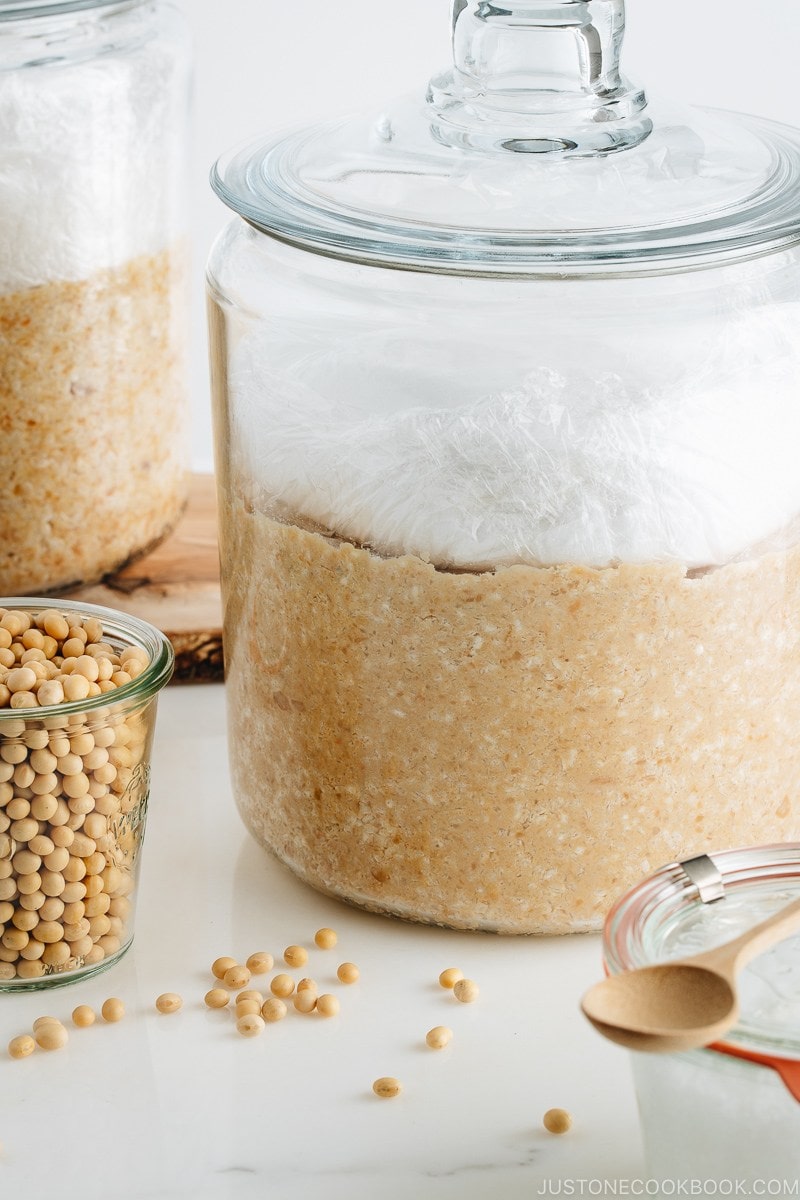
Final Thoughts…
Miso can be made year-round, but it’s commonly made in late fall to winter as miso fermentation works great from a cold winter, to a cool spring, and a hot summer.
The timing/season matters for the speed of fermentation and maturation. For example, miso prepared in summer will be ready in 3-4 months. On the other hand, if it’s prepared in winter, it takes more time to ferment and mature, roughly 6 months.
Keep checking the progress and taste your miso. If the miso reaches the flavor profile you like, store in the refrigerator as it slows down the speed of maturation, discoloration, and flavor changes.
I’m excited to see how my miso turns out!
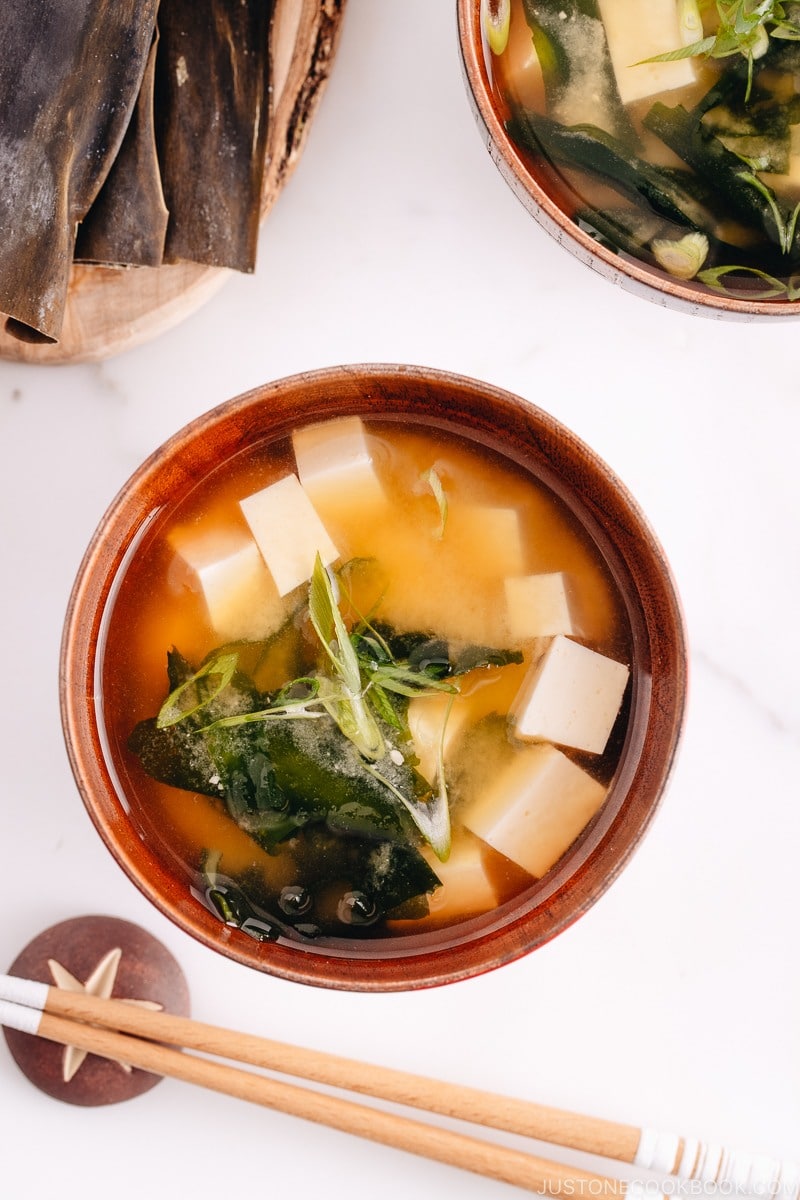
Delicious Miso Recipes to Try
Some of the miso recipes you can dream of using when you completed miso making…
- 15 Delicious Miso Recipes
- Homemade Miso Soup
- Miso Cod
- Miso Ginger Pork
- Miso Chicken
- Miso Salmon
- All-Purpose Miso Sauce
- Miso Ramen

Sign up for the free Just One Cookbook newsletter delivered to your inbox! And stay in touch with me on Facebook, Pinterest, YouTube, and Instagram for all the latest updates.
Homemade Miso
Make Homemade Miso from scratch with just 3 ingredients and a little patience. My simple step-by-step instructions on How to Make Miso will guide you through this process. Once it is made, you can use the amazing fermented paste for many delicious Japanese dishes!
- 650 g soybeans ((1.43 lb))
- 1000 g rice koji ((5 cups) (2 Cold Mountain packages) )
- 375 g sea salt ((13.2 oz))
- ½ Tbsp sea salt ((for sprinkling))
January/February
-
Gather all the ingredients. Besides this, you will need 2 large bowls (one should be a very big one), 1 strainer, Instant Pot (or pressure cooker or a large pot), a clean cloth, alcohol (shochu or vodka), a potato masher (or a food processor), a jar to put miso in, and a bag of 1 kg (2.2 lb) table salt.

-
Gently wash the soybeans thoroughly several times under running water. P.S. The foam seen in the images here is not soap.

- In a large bowl, add the rinsed soybeans and fill the bowl with filtered water to about 5 inches (10 cm) above the beans. Soak the soybeans for 18 hours.

-
Drain the beans. Look how large the beans are now. The right soybean is before soaking, and left two soybeans are after 18 hours of soaking. After soaking, total soybeans weigh 1435 g.

- Add the soybeans into the inner pot of Instant Pot. Fill the pot with filtered water to about ½ inch (1.2 cm) above the beans (roughly 8 cups).

-
Close the lid and set HIGH pressure for 20 minutes. Make sure the steam release handle points at “sealing” and not “venting”.

-
STOVETOP OPTION: Alternatively, you can cook the beans on the stovetop. Bring to a boil over high heat, skim off the surface scum, lower to a simmer, and cook for about 3-4 hours, uncovered, until the beans are soft. Add water as needed during simmering to keep the soybeans submerged in just enough water.
- Meanwhile, in a large bowl (You will add mashed soybeans in this bowl, so use your largest bowl/pot/container/dish), combine the rice koji and salt with your hands.

- Also, put some alcohol (shochu, vodka, soju, sake, etc) on a clean cloth and wipe inside the jar you will put miso in.

- Once the pressure cooking is finished, release the pressure naturally. It will take about 30 minutes till pressure comes down completely and you can open the lid.

- Test if the beans are done, by pressing a bean between a pinky and thumb. If it is mashed nicely, it’s ready. Drain the soybeans over a bowl to capture the cooking liquid. NOTE: When you are mashing the beans, you may need some cooking liquid, so save about 1 cup just in case. Ideally, it’s best not to use the cooking liquid at all (for this particular recipe, which is designed to make miso without adding cooking liquid). Water in the miso has a higher risk of potentially causing mold growth in the miso.

- While the soybeans are still hot, transfer some of the soybeans back in the Instant Pot inner pot and mash them with a potato masher (pestle or bottle, etc). Do this process in batches so it’s easier to mash nicely.

- If you have a food processor, process some soybeans until they are paste form. Do this process in batches so it’s easier to process.

- ONLY if the soybeans look really dry, add a small amount of cooking liquid. As I mentioned earlier, it’s best if you don’t add it in this recipe. Scoop out the paste and continue with next batch.

-
Mashed soybeans must be warm/room temperature (NEVER hot) before combining them with the koji because hot soybeans can kill koji mold. Mashing takes time unless you make a small batch, so you don’t need to worry about the soybeans being hot in this recipe.

- Add the warm (not hot!) mashed soybeans into the bowl with the koji and salt mixture.

- Knead well to distribute the rice koji and salt with mashed soybeans. Take time to do this process until it’s mixed well.

-
Using your hands, form tennis ball-sized balls with mashed soybeans.

- Put each ball into the container and mash it with your fist and knuckle to ensure that all air pockets have been filled. Do one layer at a time, and make sure to press down tightly. If you have a glass jar, you can see if you miss any pockets by looking from the side of the jar.

- Repeat this process until all the balls are pressed tightly in the jar. Pat down the surface with flat of your palm or knuckle to smooth out. Make sure you have a space left for the weight on top of the miso. If your jar/container is too small, use another container. Clean the inside surface walls of the container with a shochu-soaked cloth/paper towel to deter mold.

- Sprinkle ½ Tbsp of sea salt on top of the surface.

- Place a plastic wrap on top of the surface and make sure to cover nicely. I use my adjustable drop lid (otoshibuta) to hold down the plastic wrap while I work on covering the edges and remove it when I was done.

-
Put heavy objects (or rocks) on top of the miso. I put 1 kg (2.2 lb) of table salt (cheaper than the sea salt) in a plastic bag and put it on top.

To Store
- Write down the date on a masking tape and put it on a jar. Place the miso in a dark and cool place for at least 3 months (I put in a storage underneath the stairs). You can also use a dark pillow case and try to find a darker spot in the house.

After 3 Months (April/May)
-
Stir the miso from the bottom up once a month to avoid mold forming. When checking the miso, do so quickly to avoid exposure to air. If you see any mold on the surface, carefully scrape it off. Clean the inside surface walls of the container with a shochu-soaked cloth to deter mold. Smooth the surface, place a new plastic wrap on top, and put the weight back on top. Place the container back to a dark and cool place for another 3 months.
After 3 More Months (July/August)
- During summer months, the fermentation will be faster but the chances of getting mold are higher. Stir the miso from the bottom up every 2-3 weeks and check your jar regularly and remove any mold appearing on the surface. Even if a layer of mold covers the entire surface, the miso below should be fine. Just scrape off the surface to a sufficient depth where only mold free miso can be seen. Clean the inside surface walls of the container with a shochu-soaked cloth to deter mold. Smooth the surface, place a new plastic wrap on top, and put the weight back on top. Place the container back to a dark and cool place for one more month.
When Miso is Done (September)…
-
Remove the weights once the miso is done and store it in the refrigerator to prevent from over-fermenting. You can divide the miso into smaller containers so they will fit in your refrigerator. Now you can enjoy your own miso paste made with patience, love, and perseverance.
This miso recipe is based on this Japanese miso company’s tutorial. Please understand that this recipe is work in progress. I will be updating accordingly.
Recipe by Namiko Chen of Just One Cookbook. All images and content on this site are copyright protected. Please do not use my images without my permission. If you’d like to share this recipe on your site, please re-write the recipe in your own words and link to this post as the original source. Thank you.
Resource : http://bit.ly/2vMxpFu


No comments:
Post a Comment